Contact Request Guide
Overview
This guide provides step-by-step instructions for accessing and managing contact requests within the Practice Gateway system and starting a KYC journey.
Contact Request
1. Accessing the Contact Request Section
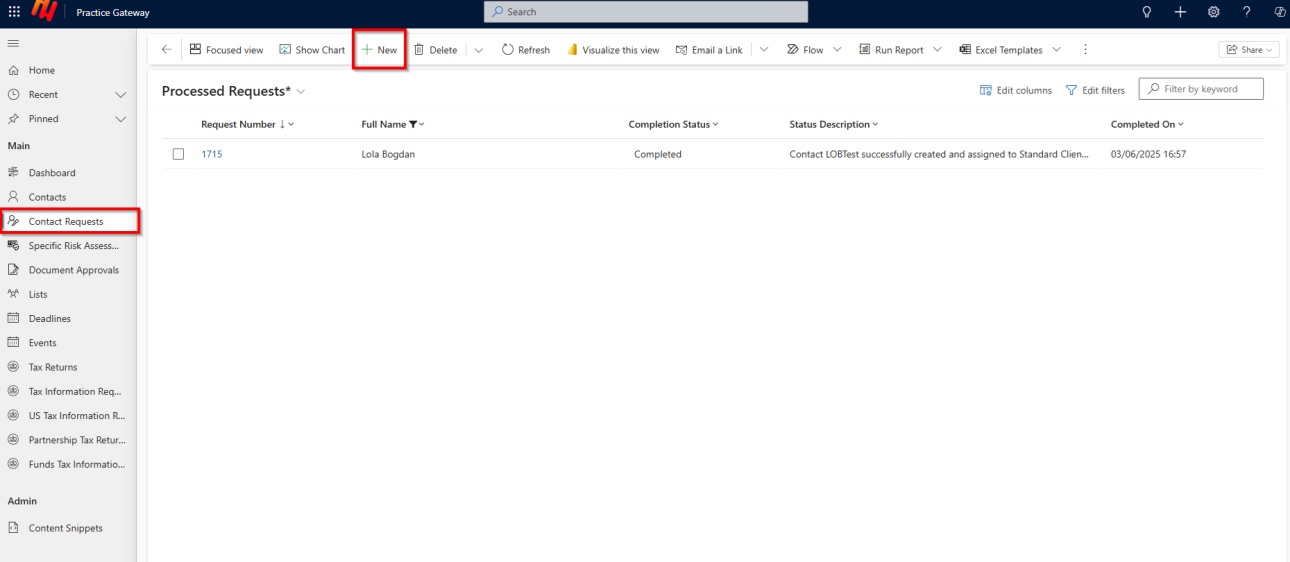
In order to create a Contact request user will have to follow steps listed below:
- Open the system and view your list of contacts.
- Navigate to the "Contact Request" section to request a new contact.
- Click "New" to begin a contact variation request.
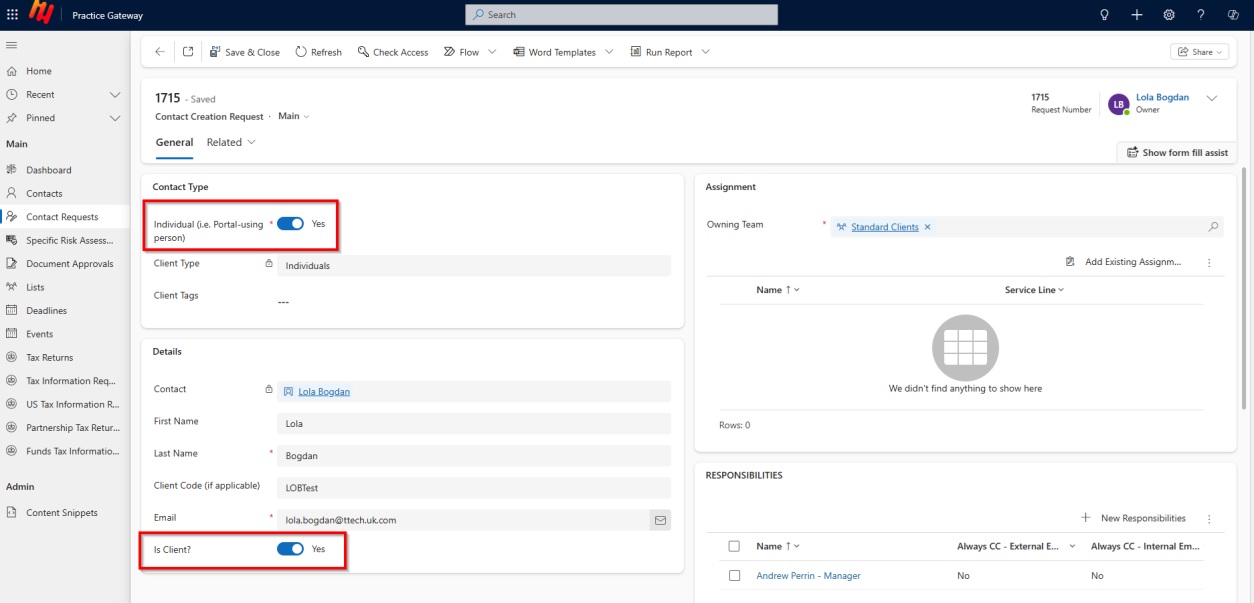
2. Selecting Contact Type
Once New Contact Request is started, choose whether the contact is:
- An individual (e.g., a personal tax client).
- A contact related to an organisation (e.g., LLC or LLP).
For this example, the contact is an individual as per screenshot below:
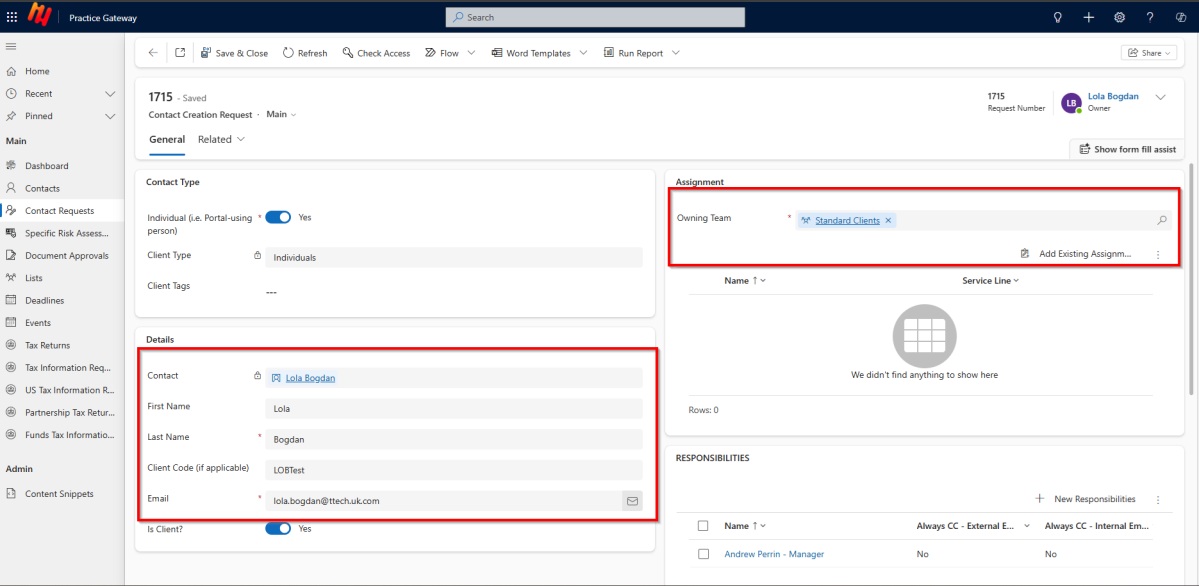
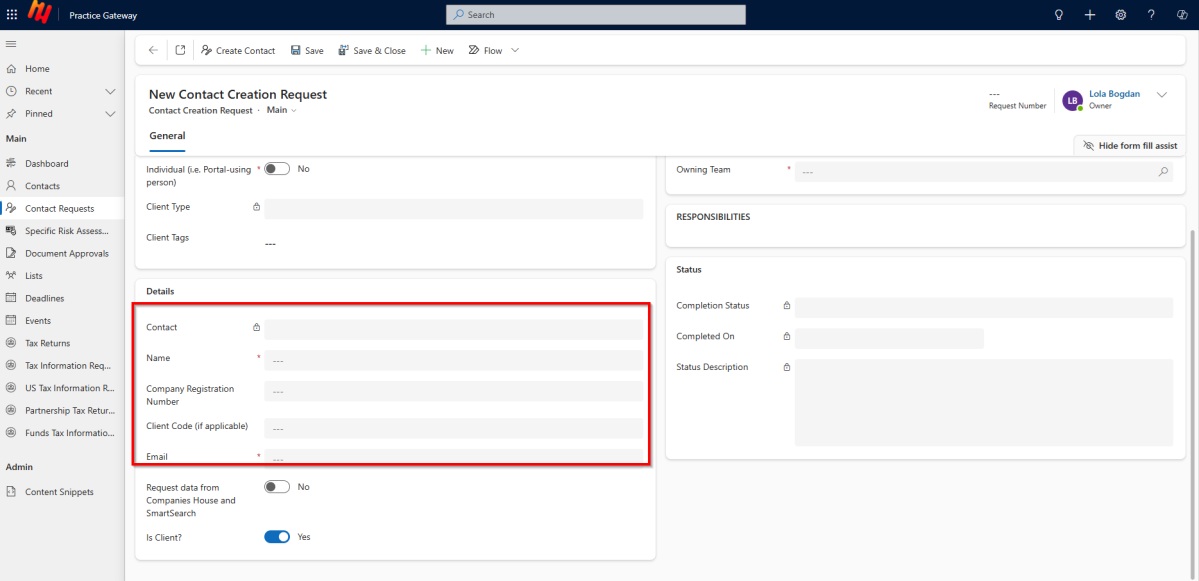
3. Entering Contact Details
- Input the first name, last name, and email address.
- If the contact is not an existing client, proceed with the form.
- Assign the contact to a client group (e.g., Standard Clients (Personal Tax), Audit, Bussiness Tax, etc.).
4. Save the Form
- Click "Save" to create the request record.
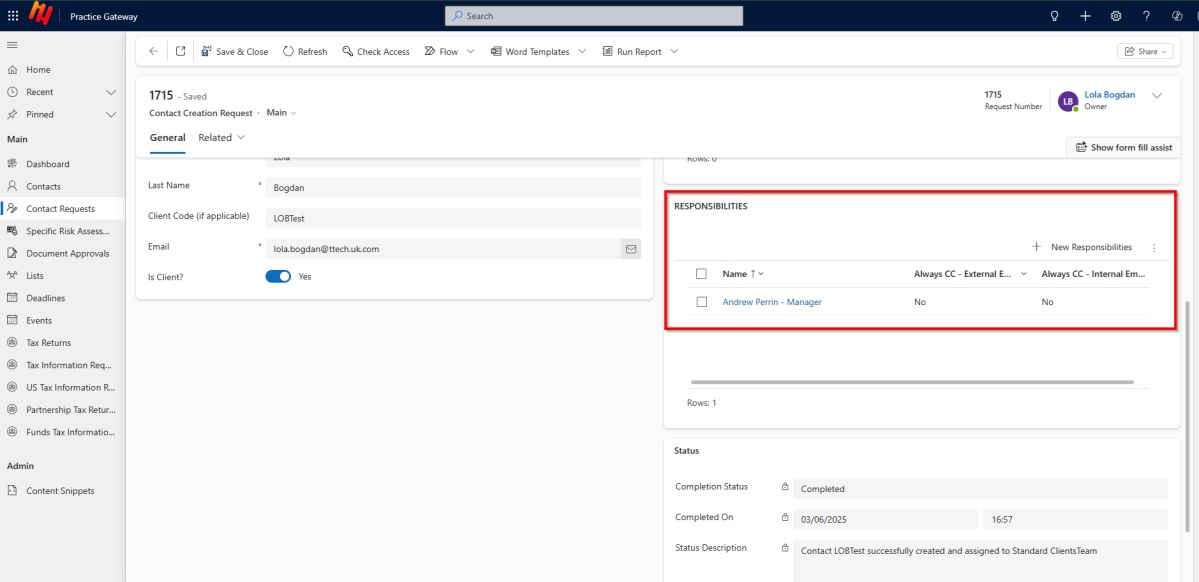
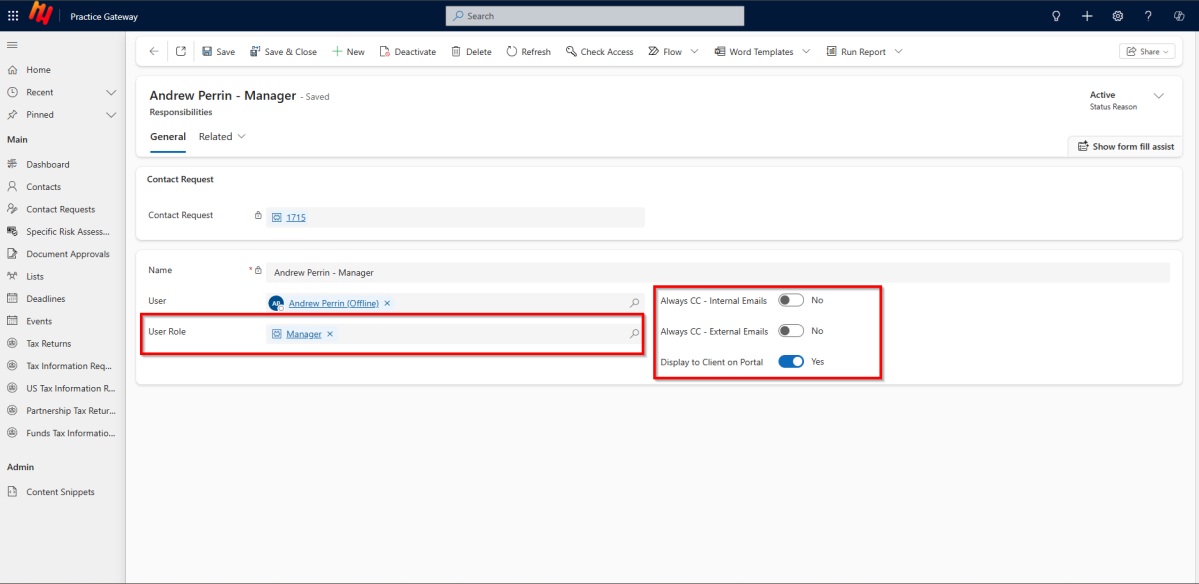
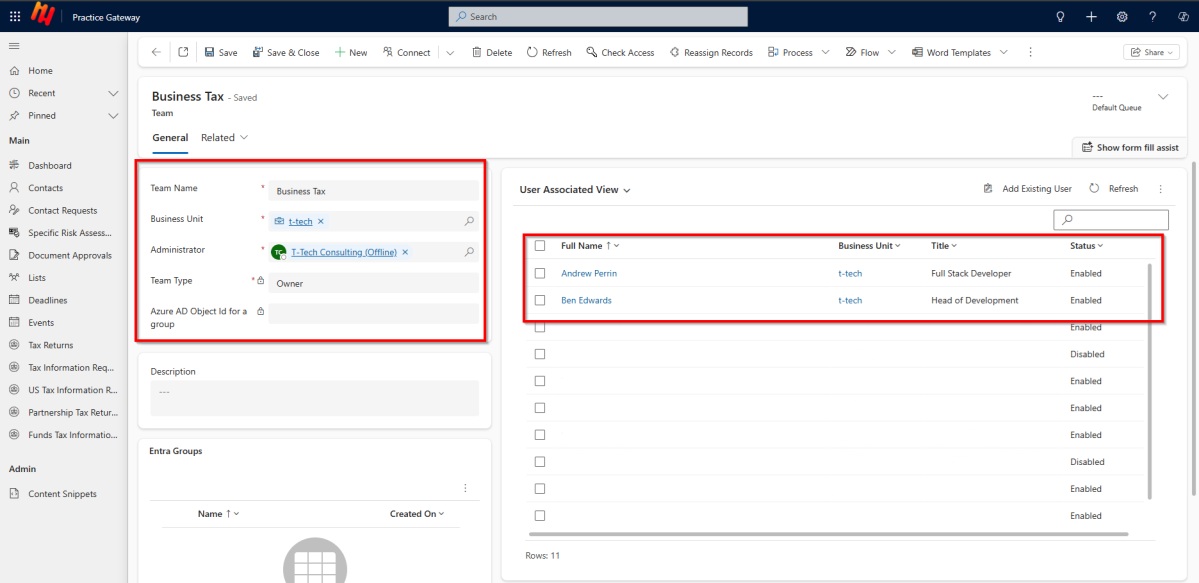
5. Assigning Roles and Responsibilities
- Add relevant assignments (e.g., Personal Tax, U.S. Tax, etc.).
- Assign responsibilities such as Manager or Partner.
- Example: Assign “Andrew” as the Manager
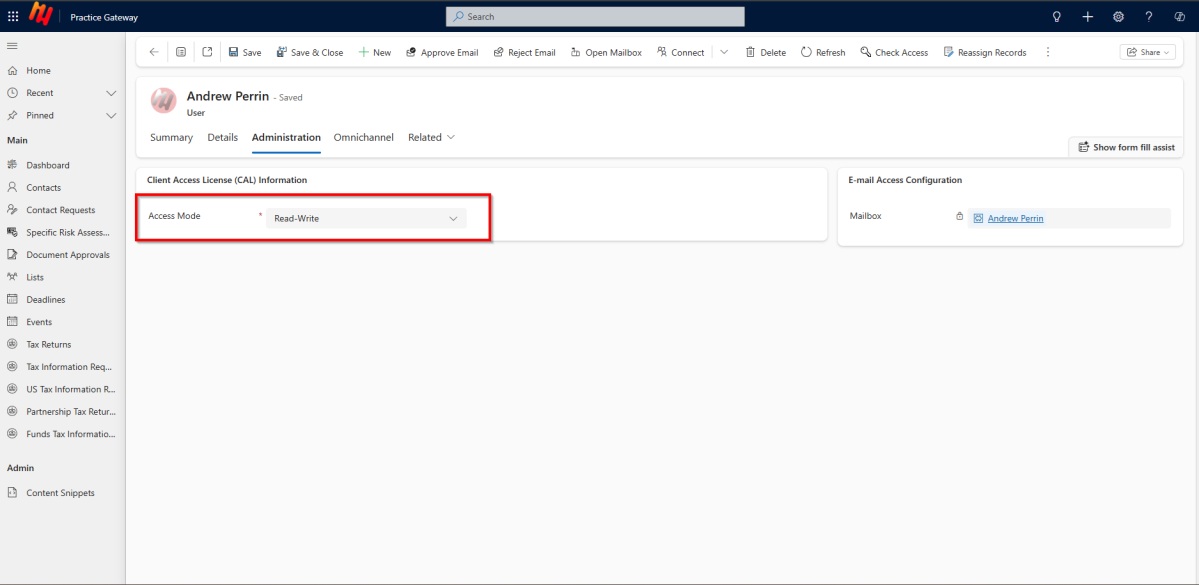
6. Email and Portal Display Settings
Choose role and which emails the contact should receive:
- Internal emails (e.g., document upload notifications).
- External emails (e.g., client communications).
- Decide whether the user should be visible on the client’s portal homepage.
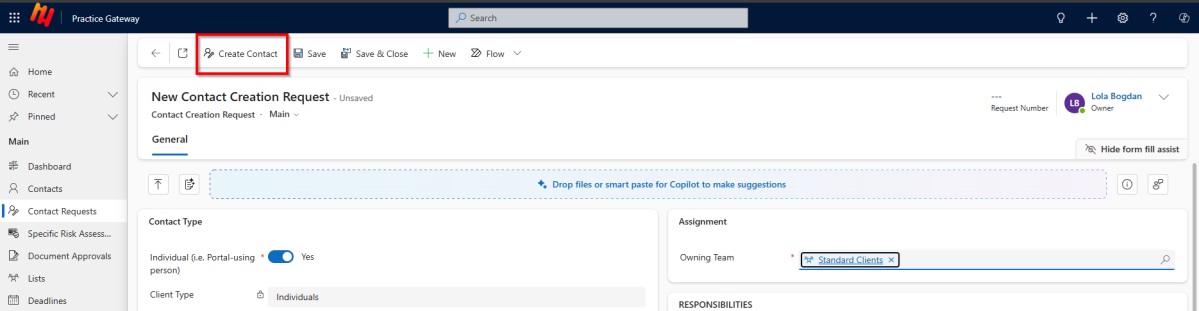
7. Finalizing the Contact
- Click "Save" to complete the form.
- Click "Create Contact" to process the request.
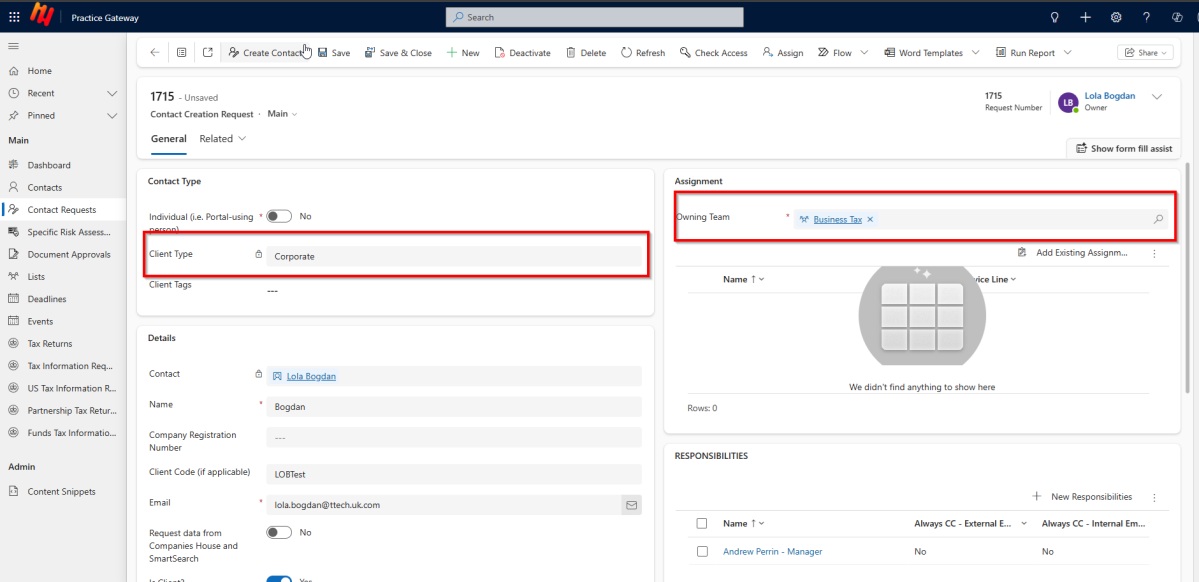
8. Requesting a corporate
The steps for creating a corporate account are the same as for an individual, with a few changes. The Owning Team must not be set to Standard Clients, as this setting is only applicable to UK Tax Individuals. Additionally, the Individual (i.e., the Portal Using Person) must be set to "No". Additionally:
- Populate the corporates name
- Specify the company id (i forgot the name of this field)
- Click “Save” to populate the assignments and responsibilities before selecting Create Contact.
The system will perform all necessary actions in the background. Once complete, the new contact will appear in your contact list, and you can navigate away from the screen while the process completes:

Once contact is saved you can start adding additional information including KYC journey which is listed below.
User Guide: Assigning Business Tax Roles & Starting the KYC Journey
Part 1: Connecting a Contact to a Corporate
1. Create a Connection
- Go to the Individuals contact record and go to Connections
- Select + New to open the new connection form.
2. Select a Corporate.
- In the “Client Type” field select the Corporate that has been created previously
- Add additional Details such as:
- Name
- Company Registration Number
3. Choose the Appropriate Role
Select the level of permissions that the Individual should have in relation to the corporate. For this example, we will use Business Tax.
- Business Tax - Basic User: Links the person to the corporate (no permissions).
- Business Tax - Data Approver: Full access to approve data (e.g. sign LOEs, approve tax returns).
- Business Tax - Data Provider: Can submit data (e.g. complete tax returns) but cannot approve.
- Business Tax - Document Only: Can view documents but cannot submit or approve anything.
- Business Tax - Read Only: Can view all information but cannot take any actions.
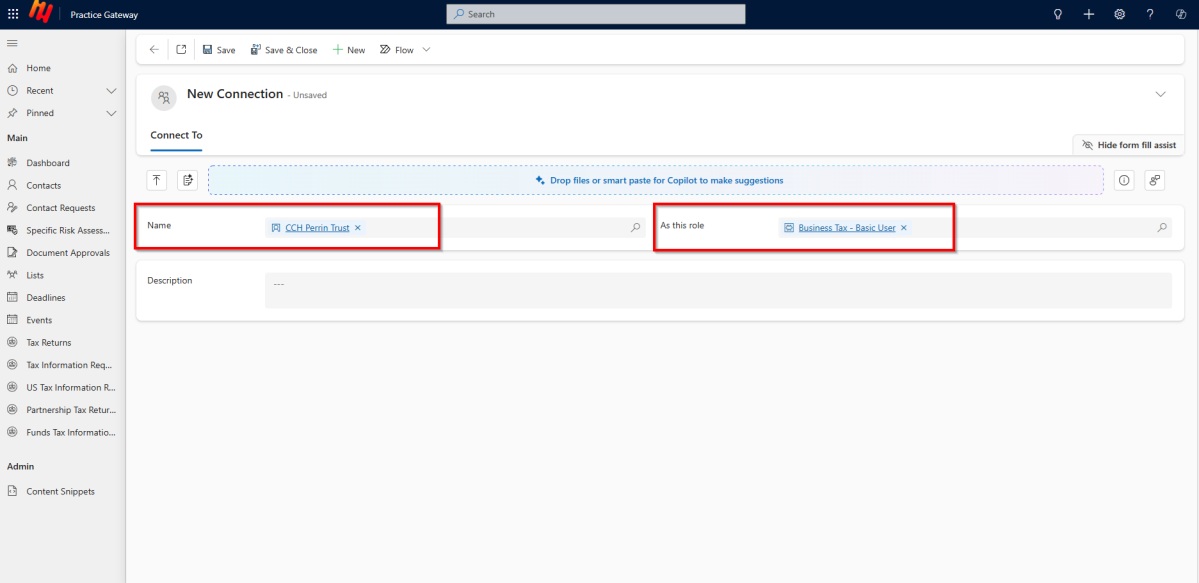
4. Save the Connection
- Click "Save & Close" to complete the form.
The contact (e.g. Lola Bogdan) is now linked to the organisation (e.g., CCH Perrin Trust) with the selected role.
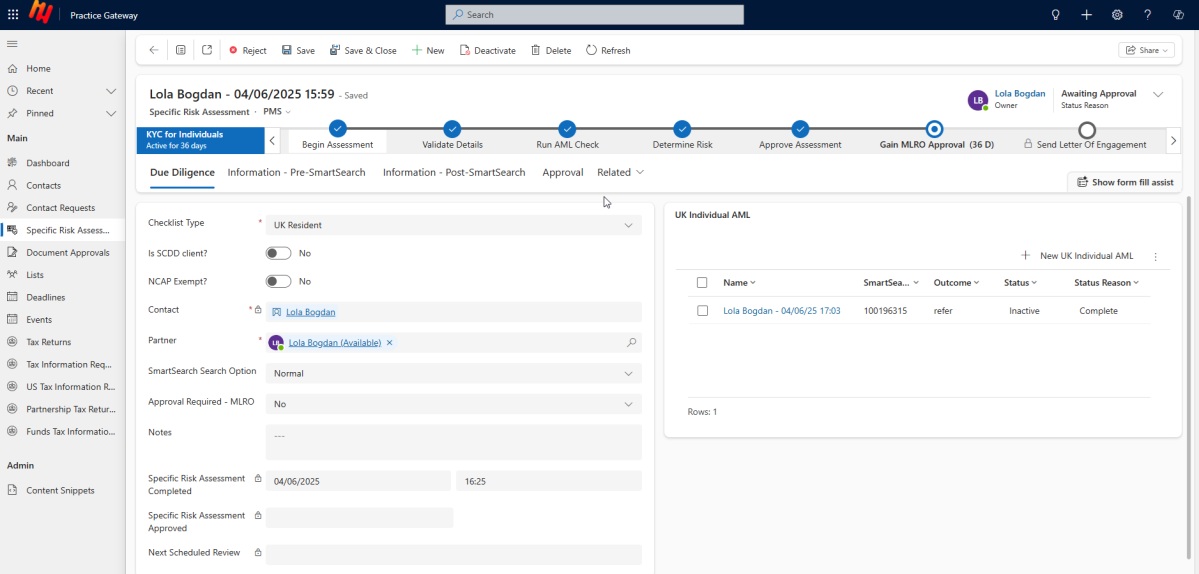
Part 2: Starting the KYC Journey for an Individual
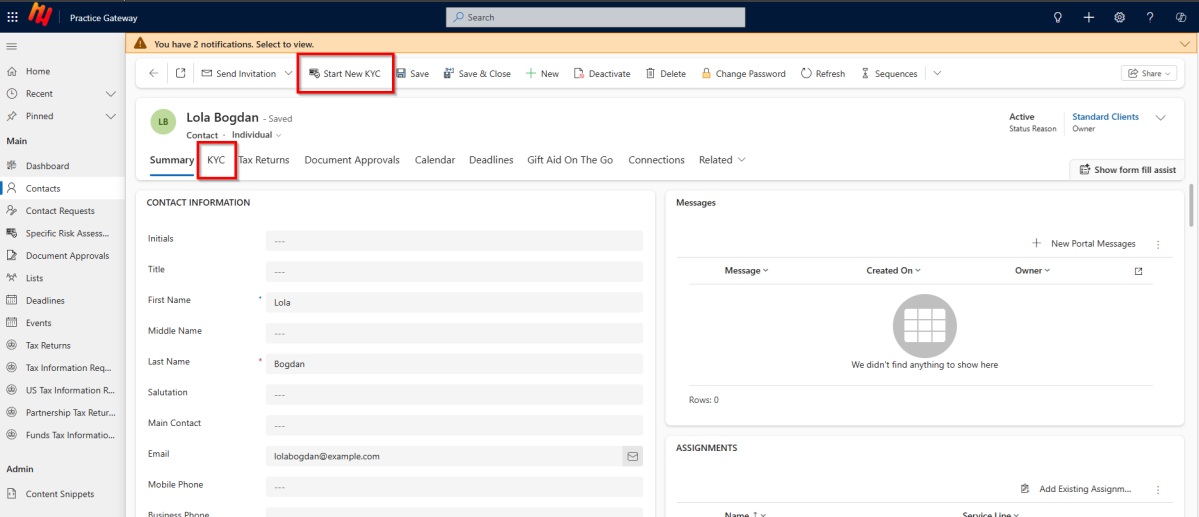
1. Open the Contact
- Go to the Contacts section.
- Click on the individual you want to start KYC for (e.g., Lola Bogdan).
2. Optional: Send Invitation
- If needed, send a personal invitation so the contact can log in and access the system.
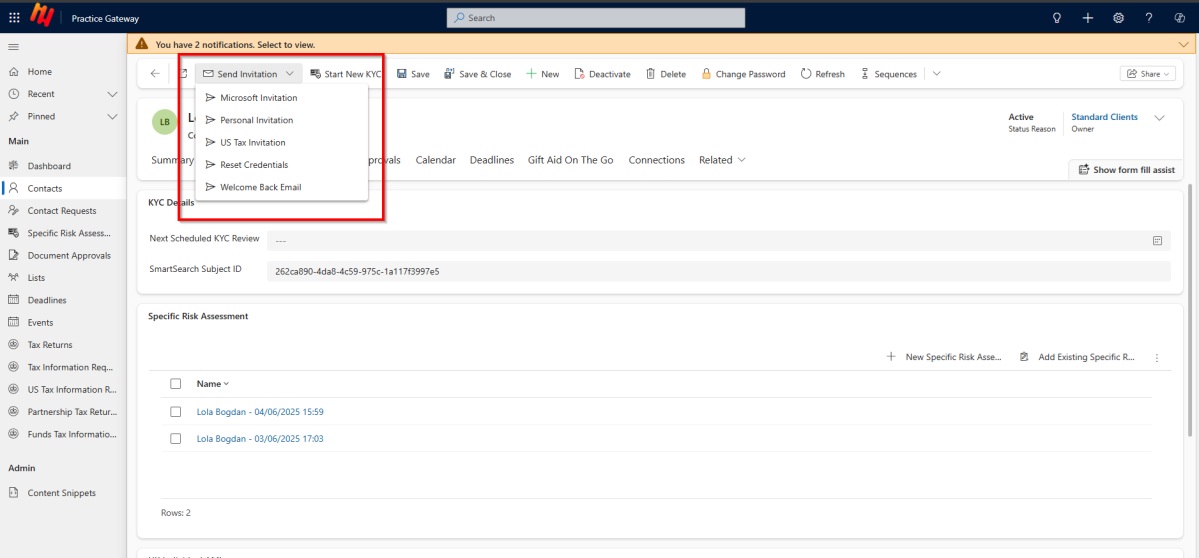
3. Start KYC
- Click the Start New KYC button.
4. Client Receives Email
- The client gets an automated email with a link.
- They log in using their username and password to upload documents and complete the KYC process.
Feedback
We hope this document was helpful. If you have any further questions or need additional support or information, please do not hesitate to contact us at support@ttech.uk.com